Home canning and food preservation offer a powerful, science-backed way to extend shelf life, harnessing heat and vacuum for safe, delicious results.
In the world of home food preservation, no tool commands as much respect—and sometimes trepidation—as the humble canner. Whether it's the familiar boiling-water bath or the mighty pressure canner, these devices represent the ultimate physical hurdle against microbial invaders, allowing us to 'defy' the natural limits of food spoilage. As master food preserver Christina Ward explains, canning is the art of using physics to our 'humble advantage,' transforming seasonal abundance into a pantry stocked for the long haul. It's not just about putting food in jars; it's about creating an environment so hostile to pathogens that your home-canned goods remain safe and delicious for up to 18 months. The process is a beautiful dance of temperature, pressure, and vacuum, a dance where getting the steps right means the difference between a shelf-stable treasure and a potential health hazard.
The Hurdle Technology: A Multi-Layered Defense
All food preservation techniques are, in scientific terms, 'hurdle technologies.' Think of it like an obstacle course for microbes 🦠. The more barriers we put in their way, the less likely they are to survive and spoil our food. We've already discussed two chemical hurdles:
-
Reducing Water Activity: Making the environment too dry for microbes to thrive.
-
Raising Acidity: Creating a pH level that's inhospitable.
Canning adds a powerful physical hurdle: high heat. This one-two—or sometimes three—punch is incredibly effective. A pickled item might last a few months, but combine pickling with the high heat of canning, and its shelf life jumps to a year and a half. In some cases, the heat from canning is so effective it can work even without those chemical hurdles, though combining methods is often the safest bet.
How Canning Works: The Simple & The Scientific
At its core, every canning method performs two crucial tasks:
-
Kills Microbes: It raises the internal temperature of the jar's contents, destroying pathogens.
-
Creates a Vacuum Seal: It forces out air and gases, creating a vacuum as the jar cools. This seal prevents new air (and new microbes) from getting back in.
Most microbes need food, water, oxygen, and a comfy pH to survive. Canning takes away their air supply. But wait, there's a notorious exception: anaerobic bacteria, like Clostridium botulinum (yep, the 'B' word—botulism 😬). These bad boys thrive in oxygen-free environments and produce deadly toxins. This is why choosing the right canning tool is non-negotiable.
The Tools of the Trade
| Tool | How It Works | Best For | Temperature Reached |
|---|---|---|---|
| Boiling-Water Canner | Heats jars in boiling water at atmospheric pressure. | High-acid foods (pH < 4.6) like fruits, pickles, acidified tomatoes. | 212°F (100°C) at sea level. |
| Atmospheric-Steam Canner | Uses steam to heat jars; similar to boiling-water canner. | High-acid foods with short processing times (<20 min). | 212°F (100°C) at sea level. |
| Pressure Canner | Creates a pressurized environment to raise the boiling point. | Low-acid foods (pH > 4.6) like vegetables, meats, soups, and non-acidified tomatoes. | 240–250°F (116–121°C). |
Think of a pressure canner as a sledgehammer and boiling-water canners as tack hammers. You must match the tool to the job. Trying to can low-acid foods in a boiling-water bath is like using a toy hammer to drive a railroad spike—it just won't work safely.
⚠️ Crucial PSA: A multi-cooker (like an Instant Pot) is NOT a pressure canner. The National Center for Home Food Preservation has issued alerts against using them for canning because they cannot be manually regulated to maintain the precise, consistent pressure required for safety. Don't even think about it!
The Tomato Conundrum: To Acidify or Not to Acidify?
Ah, tomatoes. The beloved 'mater. They're one of the most commonly preserved foods, yet they sit in a gray area of acidity. With over 7,000 varieties, their natural pH can range from safely acidic (3.7) to dangerously not (5.2). Ripeness and growing conditions also affect acidity. So, what's a home canner to do?
The folk wisdom that says, "My grandma never added acid and we're fine!" might be true, but it's playing Russian roulette with botulism. As one wise octogenarian master canner put it, 'One day, God is going to get tired of watching over you.'
The scientific consensus is clear: Always acidify tomatoes before canning. Adding two tablespoons of lemon juice or 1/2 teaspoon of citric acid per quart jar guarantees safety, bringing even the lowest-acid tomato to a pH below 4.6. This is recommended even if you're using a pressure canner! It's a simple, cheap insurance policy against a deadly risk.
Preserving Whole Tomatoes: A Step-by-Step Guide
Ready to put theory into practice? Here’s how to can beautiful, shelf-stable whole tomatoes.
Preparation (Same for Both Methods)
-
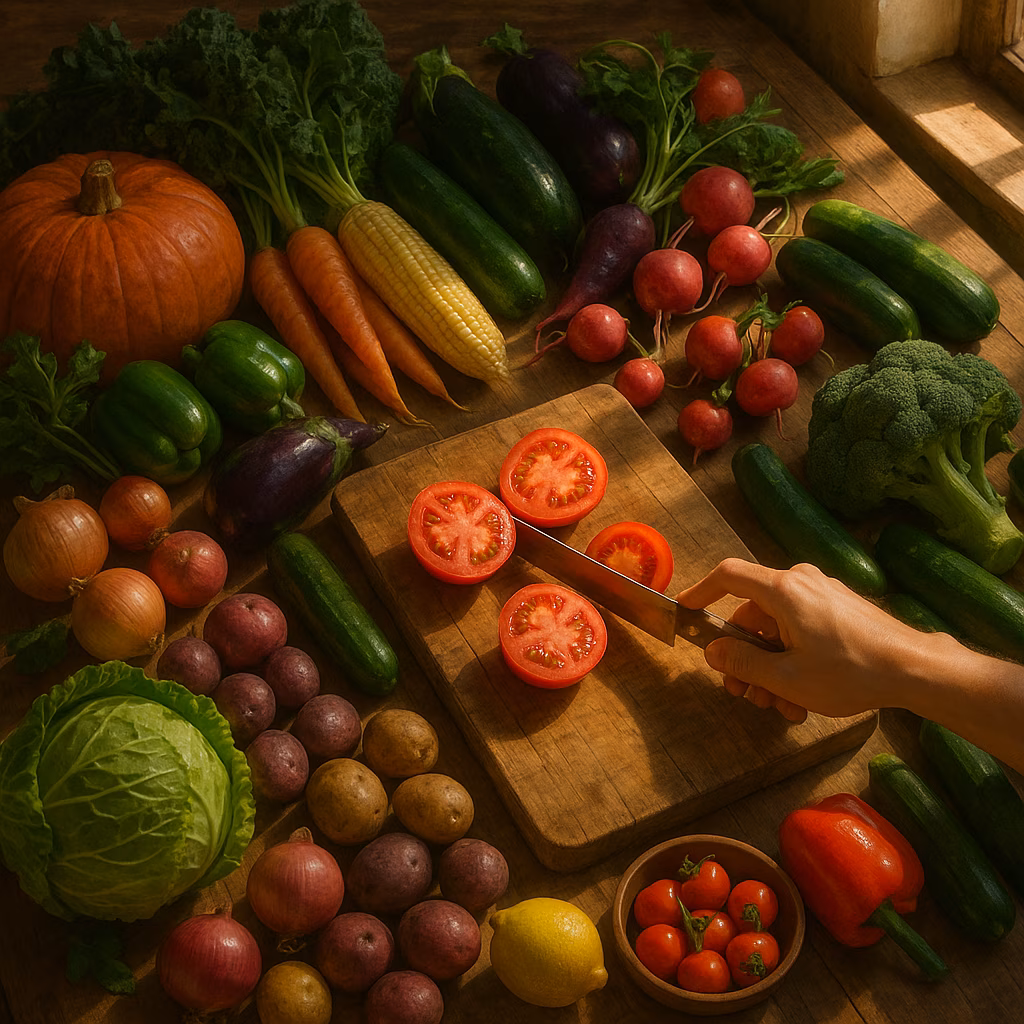
Select & Peel: Choose ripe, unblemished plum tomatoes. Score an 'X' on the bottom, blanch in boiling water for 1 minute, then shock in an ice bath. The skins will slide right off. (Pro tip: Dehydrate the skins and grind them into tomato powder!)
-
Acidify: Add 2 tbsp lemon juice OR 1/2 tsp citric acid to each clean quart jar.
-
Optional Flavor: Add 1 tsp salt (for flavor) or 1 tsp sugar (if you're a monster 😉).
-
Pack: Gently pack peeled tomatoes into jars, leaving 1/2 inch of headspace. Cover with tomato juice or water.
-
Seal: Wipe rims, place lids, and screw on bands only until fingertip-tight. Overtightening prevents air from escaping and can cause jars to break!
Method 1: The Boiling-Water Bath Canner
This is the beginner-friendly method. Any large pot with a lid and a rack at the bottom can work.
-
Fill the canner halfway with water and bring to a rolling boil.
-
Carefully lower jars into the water. Ensure they are covered by 2 inches of water (add boiling water if needed).
-
Cover, return to a full boil, and start your timer: 85 minutes for quarts.
-
When time's up, carefully remove jars and let them cool on a towel. You'll hear the satisfying 'ping' of seals forming.
Cons: Long processing time can lead to softer tomatoes.
Method 2: The Pressure Canner
The faster, more versatile powerhouse. Treat it with the respect it deserves—like a kitchen chainsaw 🔪.
-
Add 3-4 inches of water to the canner and place jars on the rack.
-
Crucial Step: Venting. Lock the lid, heat until a steady stream of steam shoots from the vent for 10 full minutes. This removes air pockets.
-
Close the vent, bring the canner to 10 psi (or 11 psi for dial-gauge). Start your timer: 25 minutes for quarts.
-
When time's up, turn off heat. LET THE PRESSURE RETURN TO ZERO NATURALLY before opening. Impatience here can turn the lid into a dangerous projectile!
-
Let jars sit in the canner for 15 minutes before removing to cool.
Pros: Shorter time, firmer tomatoes, and you can safely add low-acid flavorings like garlic, onions, and herbs.
The Final Inspection & Storing Your Bounty
After 24 hours, check your work:
-
The Seal: Press the center of the lid. It should not pop up or down. A good seal is taut.
-
The Liquid: The jar should be more than half full of liquid. Some siphoning (liquid loss) is normal with pressure canning and is safe.
-
The Look: No weird bubbling, cloudiness, or discoloration.
Store your successfully canned tomatoes in a cool, dark place. They'll be viable for 12–18 months. If you ever see mold, strange growth, or a broken seal, do not taste it! Safely dispose of the entire jar by boiling the contents for 10 minutes to detoxify before composting.
Ultimately, canning is less like cooking and more like a precision machine operation. But the reward is unparalleled: the taste of summer's peak, captured in a jar, ready to bring joy to your table any time of the year. Once you've tasted your own home-canned tomatoes in the depths of winter, you'll be a preservation convert for life. It's science, safety, and soul food, all sealed under glass. 🍅✨